luscious Lamb

Tags

, , , , , , ,

It’s been a very long time, I have been on a rollercoaster ride, so it seems.
In September 2013 I got diagnosed with depression, a battle I was humbled to realise I hadn’t quite defeated. I had suffered depression in my teens, and I was constantly hiding from it. But with the help of wonderful family, friends, exercise, a great Psychologist and medication, I am beginning to acknowledge and most importantly accept the journey it has taken me on. Slowly but surely, Little Miss Bitchin’ is climbing back out of her hole, and is cooking up a storm again!

Little Miss Bitchin'

So I do apologise to my followers for my absence, but I am back on track and on the mend. You can’t keep this bitch down!

I recently purchased myself a little toy, the Canon N Powershot camera, perhaps as a little reward for finding myself again. For those of you who don’t know much about me, I am quite the camera enthusiast, my various positions over the years at Ted’s cameras and JB HI-FI, really instilled a passion in photography, that I am forever chasing. So this new purchase has just been wonderful. It’s the perfect size for me and it features an 8-inch tilting touch screen, Creative Shot processing filters, Wi-Fi connectivity and the ability to upload photos and videos to social media…for me, perfect!

Canon Powershot N Camera

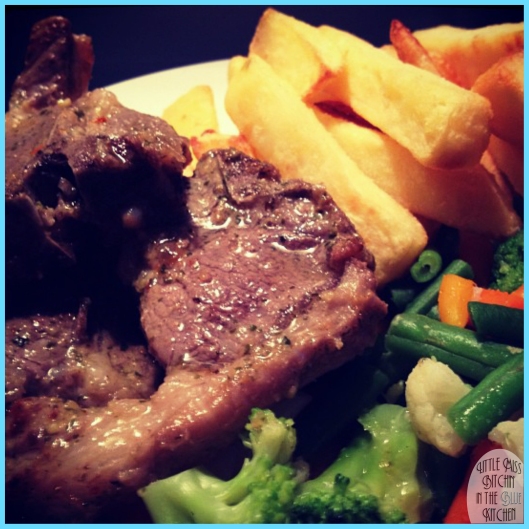
So here are my Luscious Lamb Loins… It’s a perfect budget meal that’s packed full of taste. Lamb loin chops are the lamb’s answer to Porterhouse steaks, and in my opinion are sometimes better. They’re the most tender chops on the lamb. They are cooked best if they’re thick, and the end result is to die for. Totally luscious. Lamb loin chops are usually prepared by broiling, grilling, pan-broiling, or panfrying. This tasty meal is best panfrying.

ingredients

Ingredients
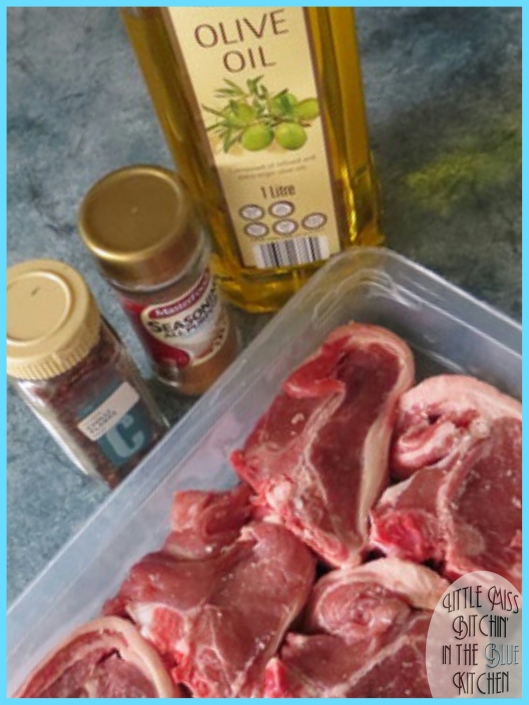
6 Lamb Loin Chops
¾ Teaspoon Chilli Flakes
3 ¼  Tablespoons of  Masterfoods Seasoning (All purpose)
2 Tablespoons of Olive Oil

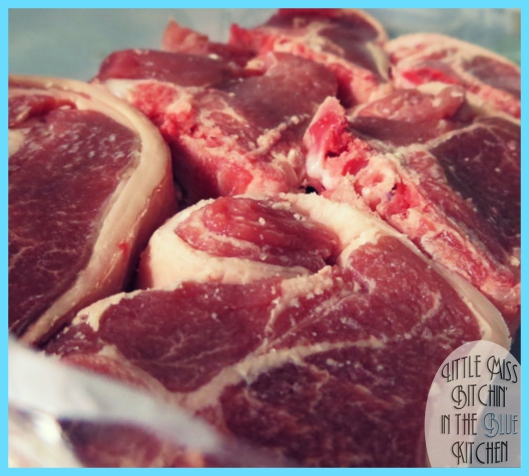
Lamb-raw

Preparation : 30 minutes  ›  Cook : 10 minutes  ›  Ready in : 40 minutes

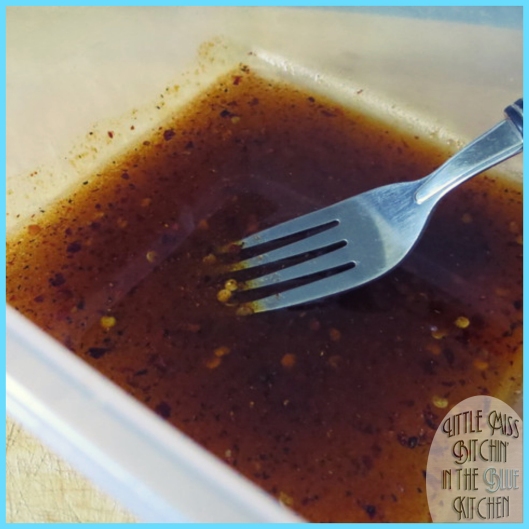
marinade-1

Method
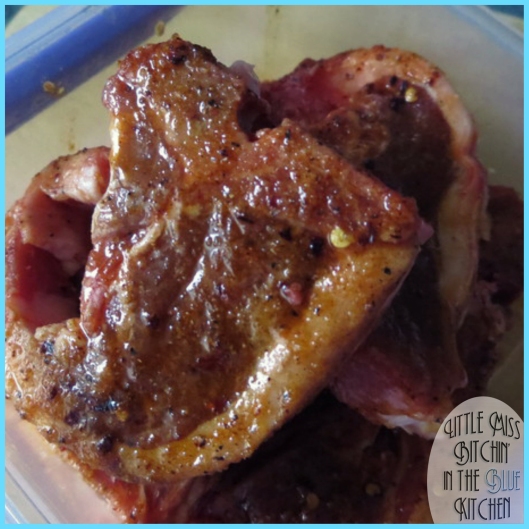
1.    In a shallow dish or Tupperware container, mix seasoning, chilli and oil until blended. Add lamb chops and turn to coat well. Cover and refrigerate for at least 30 minutes or up to 4 hours.

marinaded-lamb-1

2.    Spray the pan with cooking spray to ensure that the chops will not stick. Give the pan 1 or 2 minutes to heat up.
3.    To test to see how you would like it cooked, simply use tongs. Rare is soft when pressed, medium is springy and well done is very firm.
4.    Pan Fry lamb loin chops, cook for 4 to 5 minutes each side.
5.    The lamb chops should sizzle immediately upon being added to the pan. If they don’t sizzle, the pan may not be hot enough.
6.    Rest meat for a few minutes before serving.
7.    Serve with steamed mixed vegetables and steamed brown rice or oven baked chips, if you’re feeling a little naughty.

final

Enjoy this tasty dish, it’s incredibly delicious and certainly a family favourite!

X

Life happens.

Tags

, ,

Firstly my apologies for my absence between blogs, I have been deep in thought, considering new ventures, recovering from a bout of illness that put me seriously on my ass! And then life got in the way, motherhood, wifey stuff, full time business and loads of extra work preparing for tax time, yuck!

Now I’m ‘trying’ to remain relatively sane as our new addition to our family to our family settles in.

image

image

Cute isn’t he? He fits right into my daughters toy collection…

More food goodness will follow, when I get moment…to create.

X

Turning my dreams into a reality…it happens & it’s awesome!

Tags

, , , , , , , , , ,

For all of you who are not aware, I own part of a business, a business that I completely adore, I spend hours a day maintaining, sometimes working for over 50 hours a week, our business is called Neo-Geisha X. I am pleased to say we are finally getting the exposure we have worked so hard for.

There seems to be a plethora of Alternative Retailers online, so remaining competitive has always been a challenge. We originally started as a online footwear store in 2008 and that slowly flat-lined. So we pulled up our socks and both took a small business course, and we re-launched our store in 2010. I am pleased with our ability, we source the most intricate and different designs for a variety of occasions. Primarily focusing on local and talented designers. However, after years of operation we finally got offered the chance to showcase our clothing, shoes and accessories in a Alternative Fashion Show to support World Goth Day, a fantastic cause, and I was quite bewildered….Does this mean we are a contender now?

Here’s a photo of us when we first re-launched, in 2010 promoting our business in a Goth/Fetish nightclub. Look at our small pile of business cards…hahahaImage

Now in 2013, I didn’t get one of ‘us’ but we were wearing custom made Neo-Geisha X t-shirts with Dusk Moth Designs outfits & accessories to promote of amazing store…Of course I managed a selfie, haha.
Image

These are our models making us so, so, so proud! I had tears in my eyes watching these beauties strut our lines. Proud mother hen moment., indeed!

Image

Image

Image

Image

Image

Image

Image

If you would like to check out more amazing photos you can find them here
These amazing photos in this blog are actually film stills taken by the talented Guy Jukes. Middle Earth Productions : http://www.youtube.com/middleearthguy

This event was hosted by Cabaret Nocturne, Melbourne’s Ultimate Gothic Nightclub and DV8. More info on Cabaret Nocturne can be found here

Not to forget the incredible MUA for our models Bianca, Lady Lithium and Felix. We highly recommend this lovely and incredible lady Armanda, she can contacted here

Models in order of appearance
Dani : https://www.facebook.com/dlugosi
Demolita : https://www.facebook.com/DemolitaMortierModelViolinist
Felix : https://www.facebook.com/pages/Felix-Couture/340845729294053
Miss Twisted : https://www.facebook.com/pages/Miss-Twisted/222801024441908
Bianca : https://www.facebook.com/Bianca.Gaga
Lady Lithium : https://www.facebook.com/pages/Lady-Lithium/376342345774519

I hope we get a opportunity to do this again, I am so grateful and humbled by the opportunity to showcase our store to the alternative community. Thank you to everyone involved, especially the organisers, event promoters, retailers, models & and the patrons for making this event such a memorable one for all involved!

Thanks for reading!

X

Guilt Free Chocolate Chip Cookies

Tags

, , , ,

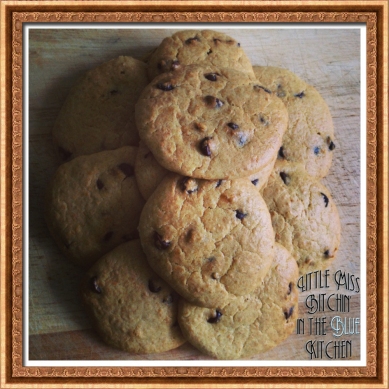
Cooooookies! Yes, the chocolate chip kind, my husband salivates at the thought of these, okay yeah and maybe I do too. And with both of us in mind these are perfect for diabetics and weight management.

Image

This was my first time making cookies from scratch, and they turned out delightful. I credit all the training with the pre-made cookie dough I used to make in my teenage munchie days, remember the m&m cookie dough? Man I used to eat that shit raw. Only I actually made my own dough this time.

Image

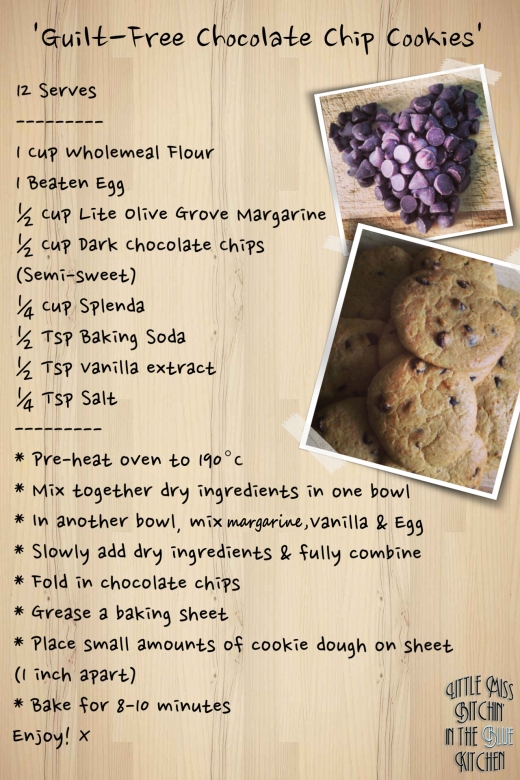
You will need the following ingredients to re-create these little beauties:
12 Serves

1 Cup Wholemeal Flour
1 Beaten Egg
½ Cup Lite Olive Grove Margarine
½ Cup Semi-Sweet Dark Chocolate Chips
¼ Cup Splenda (or ½ Cup of Brown Sugar)
½ Teaspoon Baking Soda
½ Teaspoon Vanilla Extract
¼ Teaspoon Salt

Image

Combine all dry ingredients, flour, soda, salt and Splenda in one bowl and mix together.
In another bowl mix vanilla, margarine and egg together. Slowly add in dry ingredients and mix until fully combined. Then fold in the chocolate chips.

Image

Grease a baking sheet, place on baking tray and preheat your oven to 190°C. Drop small amounts of cookie dough onto the sheet approximately 1 inch apart.

Image

Bake for 8-10 minutes, until just set.

Image

Cool on wire rack.

Image

Enjoy!

X
For your convenience, make sure you right click, save as, and print the following recipes, so you always have it handy :

Image

One Lovely Blogger Award!

Tags

,

Image

How exciting is this? I was nominated by Ashley at Life of a Housewife Blog for the ‘One Lovely Blogger Award!’  A massive thank you to Ashley for nominating my blog, I am truly chuffed! 🙂

Rules of the award:

– Add the “One Lovely Blog Award” image to your post
– Share 7 things about you
– Pass the award to seven nominees
– Thank the person who nominated you
– Inform the nominees by posting on their blogs

Here are 7 things about me :

1. I adore tigers, they are my most favourite animal in the world. These incredible animals are strong, majestic and determined. I could look at them for hours, and hope to meet one in the future.

2. My biggest fear is losing my memory. I have notes everywhere.

3. I love the goth and underground subculture, fashion and music. So much so my partner and I started a business primarily to offer these sorts of inspired products to our customers, and to help launch Australian designers who create similar fashion into the marketplace. Its our pride and our joy, we have spent many hours laboring over our retail site Neo-Geisha X.

4. My eyesight is shit. I am shortsighted and it’s incredibly hard to see things that are in the distance. I wear contacts and glasses to correct this.

5. I have 2 tattoos. These tattoos are very therapeutic and meaningful tattoos to me. I have a black ‘All seeing eye’ with roses, and the text ‘Fortuna Di Fortuna’ on my right arm and a red rose on my wrist. I am sure you will see photos of them one day, I will write a post on them soon.

6. I have an hourglass birthmark on my stomach.

7. Motherhood has been the most touching, testing yet rewarding task, I have yet to accomplish…I probably never will.

After some careful consideration my next 7 nominees are :
* http://justagirlfromaamchimumbai.com/
* http://maggiesonebuttkitchen.com/
* http://glipho.com/afewfinethings
* http://highheelgourmet.com/
* http://mahoganymuslimah.wordpress.com/
* http://haveashnick.com/
* http://berlindomestic.wordpress.com/

X
No Rice for Old Soy

Tags

, , , ,

So first of all, please forgive me for the delay between posts. My beautiful family suffered a tremendous loss this week. My beautiful second cousin lost her battle with Multiple Sclerosis, and related illnesses in which Cancer was one of them. At the tender age of 35. After closure, at the funeral I finally felt my goodbyes were said, and life was on the uprising once again. Thanks to my gorgeous husband whom wiped my tears, filled my glass with water and wine, and was the best friend I could of asked for.

Image

Okay, enough with the mush, mush. This week was incredibly difficult to be creative and imaginative, but I DID manage to come up with this little beaut’…

Image

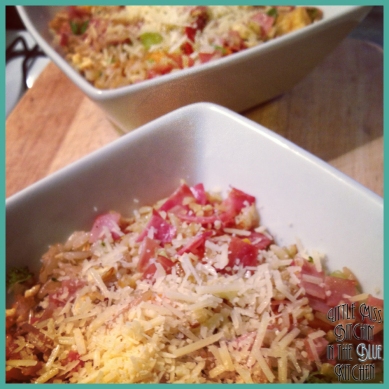
I was rummaging through the pantry, throwing ingredients frantically together. Usually I have dinner planned, but tonight it just snuck up on me…I swear! I then have a ‘light-bulb’ moment. You know the one when you remember what you used to do back in the day as a young adult, desperately trying to make something for dinner. Using whatever in-date piece of food-like substance you could find. Only this time, it’s a little more refined. This is my version of fried rice, and it’s made without soy, without flavour enhancers, and its completely healthy! It also is incredibly quick to make.

If your lucky enough to own a wok, use it for this recipe. If not, do as I do and use a large and deep frying pan instead.

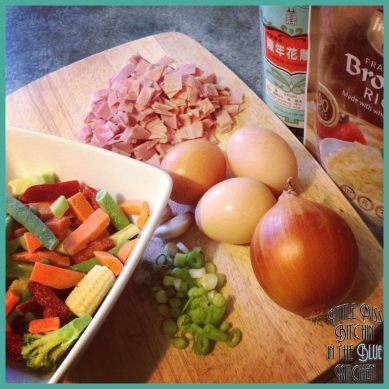
You will need the following Ingredients:
Image

2 Cups Cooked (then cooled) Brown or White rice
1 Cup cooked Ham Diced
1 1/2 Cup cooked Stir Fry Mixed Vegetables
3 Eggs (2 whites & one whole egg mixed)
1 Small Diced Brown Onion
1 Tbsp of Diced Spring Onion2 Cloves Diced Fresh Garlic
3 Tbsp Chinese Cooking Wine
1/2 Tsp Salt
1/8 Tsp of Cracked Pepper
2 Tbsp of Extra Virgin Olive Oil
Parmesan Cheese for Seasoning (optional)

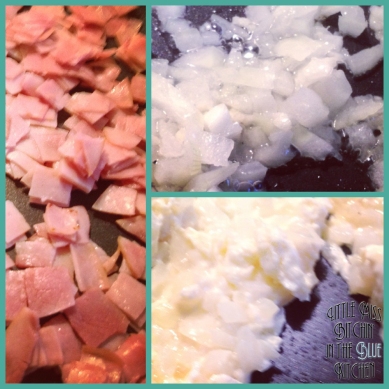
In a frying pan, heat oil over medium-high heat. Add onions and garlic and sauté.

Image

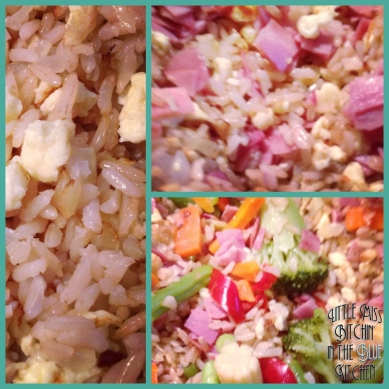
Once onions appear transparent, pour the mixed eggs right into pan and gently scramble with spatula. Add cold, dry, rice into pan and break apart clumps. Stir-fry mixture for several minutes until a nice browning appears on the rice surface. Turn the rice about every 30 seconds to give the rice time to brown.

Image

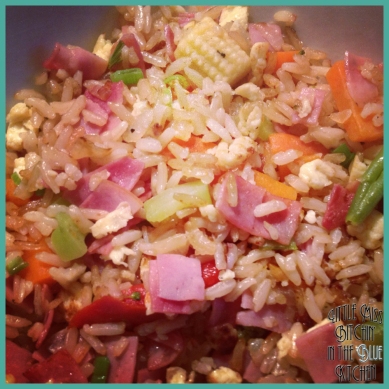
Add the Ham, Spring onions, Pepper, Wine, Mixed Vegetables, and salt to pan. Cook until heated and well-mixed, for approximately 2 minutes.

Image

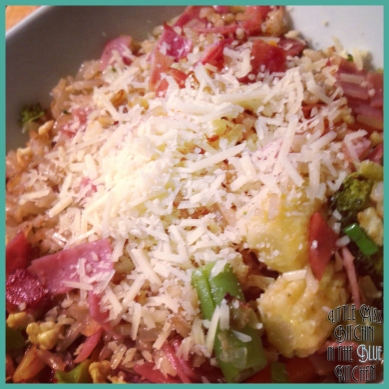
Serve with a dash of Parmesan cheese as seasoning.

Image

There is NO soy in this rice, because Soy sauce will ruin your rice (Yes… I said it). It will ruin the rice’s natural flavour. Why? The reason is that Soy sauce is fermented soy beans and is very strong in taste. Even a little soy sauce will quickly darken the rice and dominate the natural flavour of the rice. If you brown your rice, more you will have no need for soy. But that being said, if you like soy, by all means use it!

Enjoy!
X

For your convenience, make sure you right click, save as, and print the following recipes, so you always have it handy :
Image

Cinémuffins

Tags

, , , , , ,

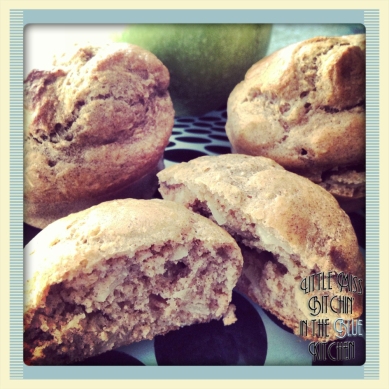
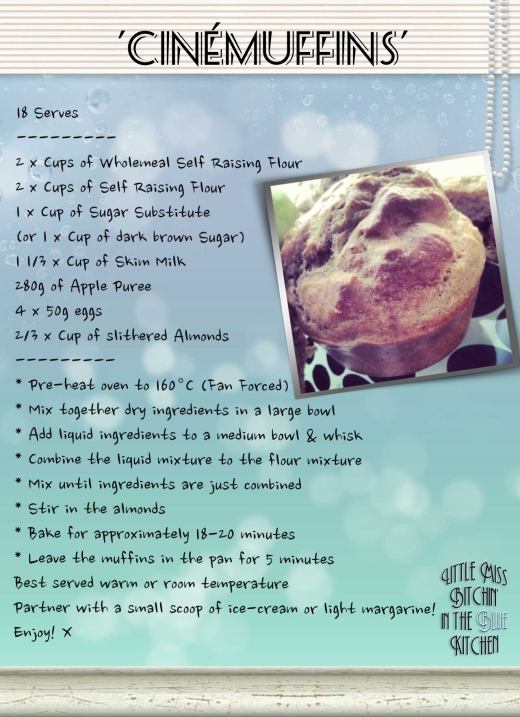
So… these muffins are awesome! A little bit of apple, a touch of almond, and a bang of cinnamon, and voilà, your home will never smell the same!

Image

This is a diabetic recipe, but I have also included quantities for sugar as a replacement. If you want it naturally sweet and sugar ain’t your thing, honey will do just fine. I made my own home-made puree and used wholemeal self-raising flour for this recipe. I know right, totally bitchin’ 😉

Image
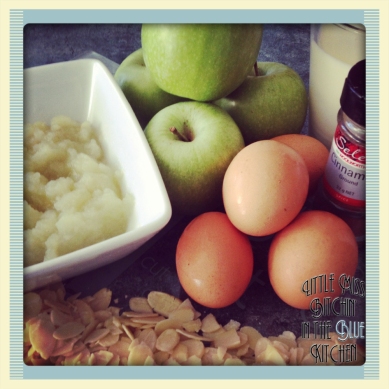
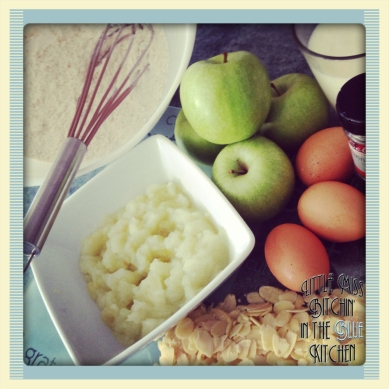
You will need the following ingredients, to re-create these :

Serves 18 muffins

2 Cups of Wholemeal Self Raising Flour
2 Cups of Self Raising Flour
1 Cup of Sugar Substitute or 1 Cup of dark brown Sugar
1 1/3 of Skim Milk
280g of Apple Puree
4 x 50g eggs
2/3 Cup of slithered or sliced Almonds

Pre-heat the over to 160°C (Fan Forced)

Combine flours, cinnamon and sugar in a large bowl, and mix well.Image
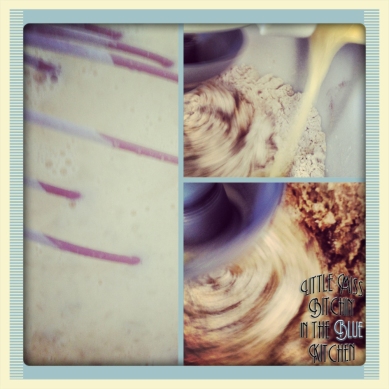
In a separate medium bowl, add milk, apple puree and eggs and whisk well to together.

Image
Add the liquid mixture from the medium bowl into the large bowl of flour. Mix until all ingredients are combined.

Image
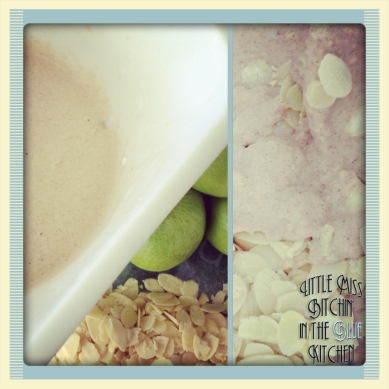
Stir almonds into the mixture.

Image
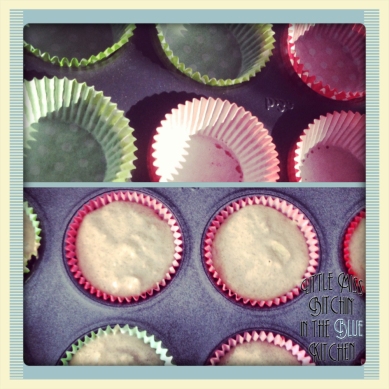
Spoon mixture into lined  or greased muffin tin, to a little bit over 3/4 of the way.

Image
Bake for approximately 18-20 minutes, until the muffins are lightly browned. To check that the muffins a cooked throughout, simply stick a skewer into a muffin, and if it comes out clean, it’s cooked.

Image
Leave the muffins sitting in the pan for 5 minutes.

Image
You then have the option to re-heat these muffins inside an oven at low temperature for up to 8 minutes. This will make the outer-layer of the muffin slightly crisp and the inside soft and delicious. They seem to taste nicer and nicer everyday.

Image

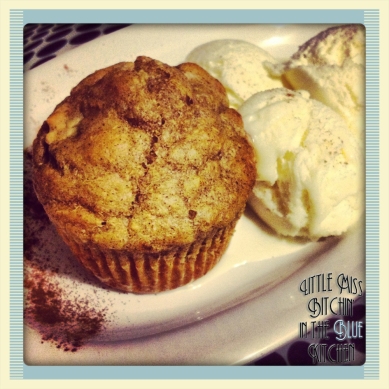
If serving as a dessert, I recommend accompanying the muffins with a little bit of ‘no sugar added’ ice cream. If, for breakfast, serve with dab of light margarine. My daughter and husband, and, oh yeah… me, have almost devoured a whole muffin batch in a week. These Cinémuffins are pretty damn good, and are the perfect treat while snug inside on the couch watching a classic film.

X

For your convenience, make sure you right click, save as, and print the following recipes, so you always have it handy :
Image

Bitchin’ Beer Pizza

Tags

, , , ,

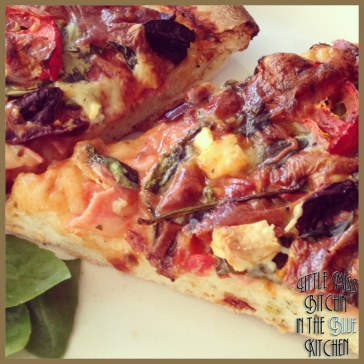
Here’s one for the beer and pizza lovers. The pizza base was inspired by a recipe written by amazing fellow foodie blogger Maggiesonebuttkitchen . Hope you all enjoy my version, which I simply call, ‘Bitchin’ Beer Pizza’.

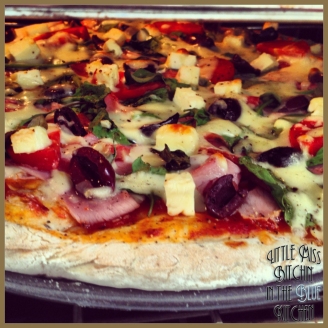
Image

Most pizzas generally make me feel sick, BUT, after eating this pizza, it left my family and I satisfied, complete, and longing for more. This was my first attempt at making a home-made pizza from scratch, including the dough, and I am pleased to say I nailed it!

Image

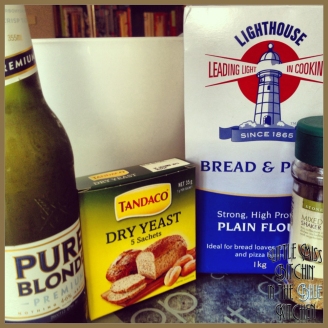
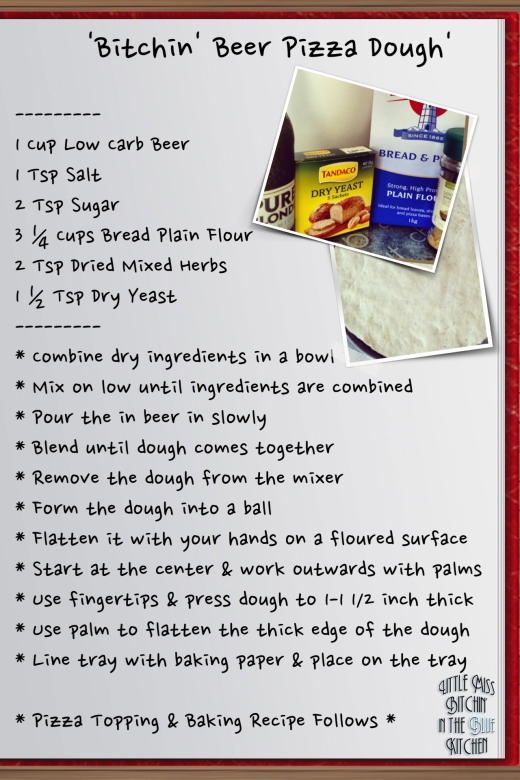
To make the Beer Pizza Base you will need the following ingredients :

1 Cup Low Carb Beer
1 Tsp Salt
2 Tsp Sugar
3 ¼ Cups Bread or Pizza Plain Flour
2 Tsp Dried Mixed Herbs
1 ½ Tsp Dry Yeast

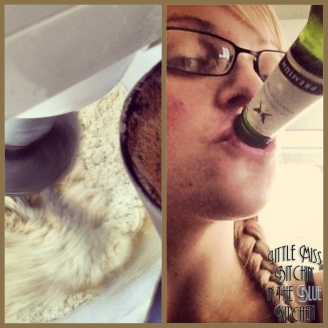
Combine all the dry ingredients in a bowl. You can either mix them together using a mix master, a food processor or traditionally by hand. Once the ingredients are combined, pour the beer into the mix slowly. You can use any type of beer you desire. Drinking the remaining beer is optional. An option I chose to fulfill.

Image

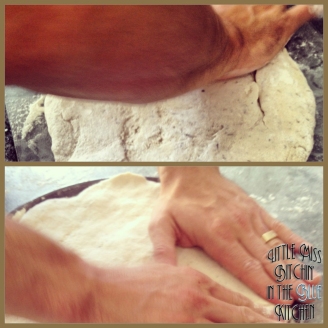
Blend until dough comes together. Remove the dough from the mix-master and press flat on floured surface. Start to knead the dough together.

Image

Now that the dough has been kneaded into a ball, it needs to be flattened to take the shape of a pizza base. You can do this by first punching the shit out of it. A perfect way to get your aggression out! Start at the center and work outwards with your palms. Use your fingertips to press the dough so it is around 1-1 ½ inch thick.

Image
Image

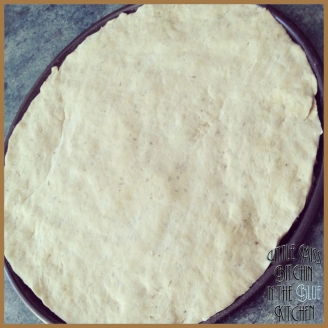
Try to make the dough as smooth as possible. Use the base of your palm to even out any thicker parts of the pizza base. Line the tray with baking paper, then place the pizza base onto the tray.

Pre-heat oven to 230°C

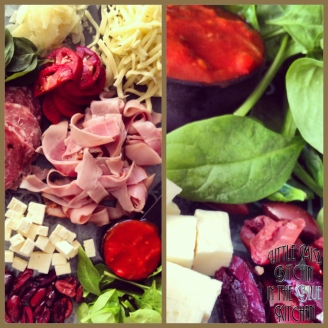
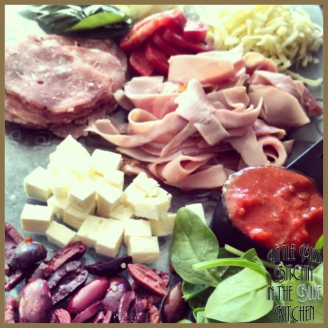
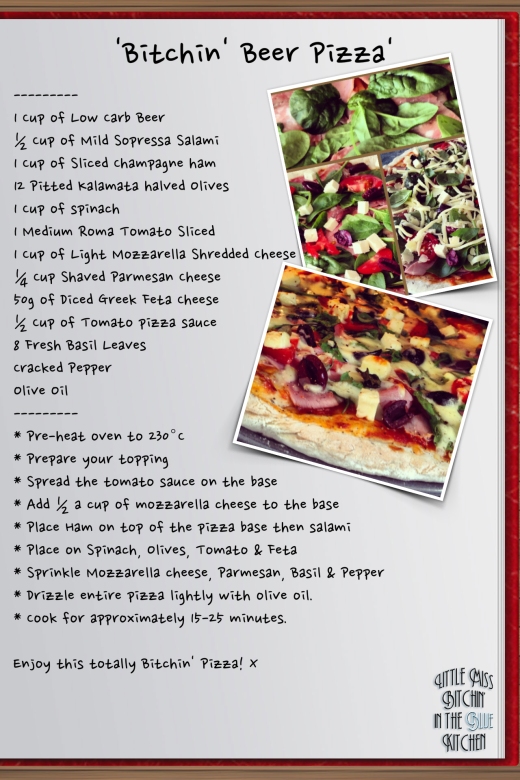
To create the topping you will need:

½ Cup of Mild Sopressa Salami
1 Cup of Sliced Champagne ham
12 Pitted Kalamata halved Olives
1 Cup of spinach
1 Medium Roma Tomato Sliced
1 Cup of Light Mozzarella Shredded Cheese
¼ Cup Shaved Parmesan Cheese
50g of Diced Greek Feta Cheese
½ Cup of Tomato pizza sauce
8 Fresh Basil Leaves
Cracked Pepper
Olive Oil

Image

Prepare your topping.

Image

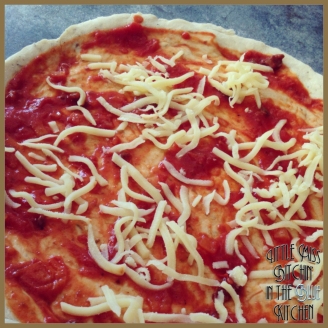
Spread the tomato sauce on the base of the pizza.

Image

Add ½ a cup of mozzarella cheese to the base to ensure ingredients fix together.

Image

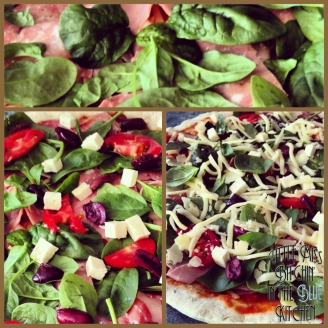
Place ham on top of the pizza base, followed by the salami. Making sure it is evenly distributed.

Image

Place spinach, olives, tomato and feta cheese over the pizza.

Image

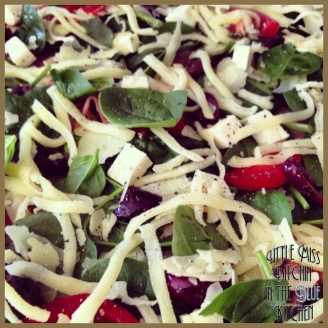
Sprinkle with remaining Mozzarella cheese, Parmesan cheese, Basil and Cracked Pepper

Oh yeah, at this point you may find yourself barricaded in the kitchen by toddler toys blocking all exits.

Image

The toddler ‘s antics are a very important addition to the craziness of the cook, so if you don’t have a toddler yourself, try your best to borrow one, so you can successfully recreate the whole ‘stressful’ experience.

Drizzle olive oil over the entire pizza.
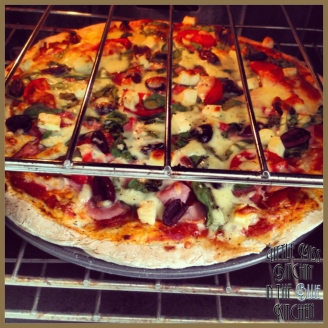
Place pizza into a pre-heated oven.

Image
Image

Cook for approximately 15-25 minutes, until pizza has been cooked through and browned.

And bon appétit!
Image

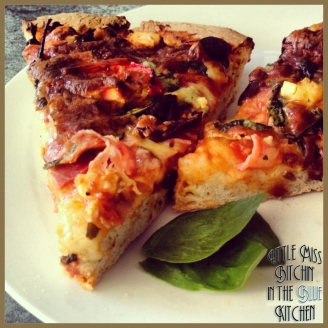
I know you will enjoy this totally Bitchin’ Beer Pizza. I honestly cannot recall tasting such amazing creation in a while. I am confident you will produce the same result.

X

For your convenience, make sure you right click, save as, and print the following recipes, so you always have it handy :

Image

Image

‘Coconuttynana’ Muffins

Tags

, , , , , ,

I must be mental or incredibly determined, I’ll stick to mental…as for some reason the productive god lit a fire under my ass and I produced two new recipes today.

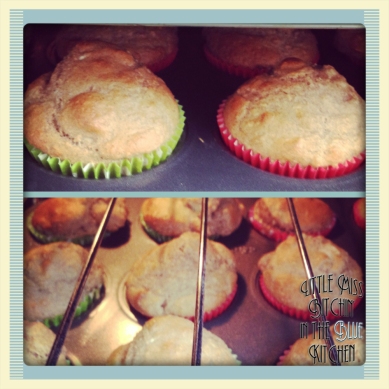
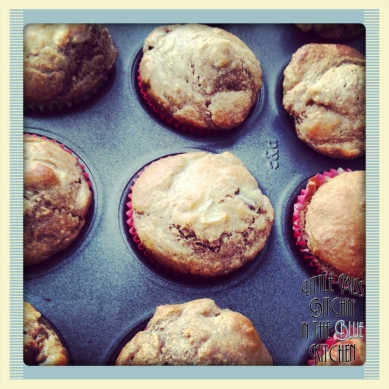
Now the first one I will share with you is my delightful diabetic friendly coconut, walnut and banana wholemeal muffins. One on my lovely Facebook fans was kind enough to suggest a name for them ‘Coconuttynana Muffins.’ I couldn’t of done better myself!

Image

If your not a diabetic, and are not doing the calorie control lifestyle, by all means replace the sugar substitute quantities with actual sugar or honey, just remember to taste your creation.

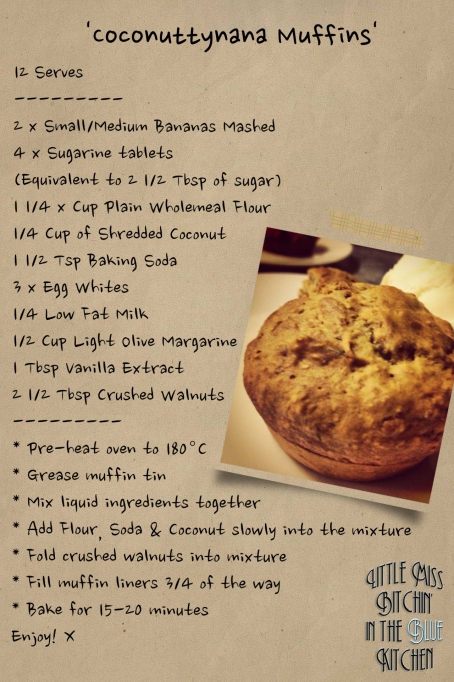
You will need the following ingredients :

2 x Small/Medium Bananas Mashed
4 x Sugarine tablets
(Equivalent to 2 1/2 Tbsp of sugar)
1 1/4 x Cup Plain Wholemeal Flour
1/4 Cup of Shredded Coconut
1 1/2 Tsp Baking Soda
3 x Egg Whites
1/4 Low Fat Milk
1/2 Cup Light Olive Margarine
1 Tbsp Vanilla Extract
2 1/2 Tbsp Crushed Walnuts

Pre-heat the oven to 180°C and Grease 12 hole muffin tin.

Then Beat the egg whites, vanilla extract, banana, milk, butter, Surgarine tablets, in a small bowl with a electric mixer. Scrape excess margarine from the sides and ensure tablets are dissolved. Continue beating until ingredients are combined.

Image

Now slowly add baking soda, flour and coconut to the mixture.

Image

Remove from electric mixer and Fold the walnuts into the mixture.

Image

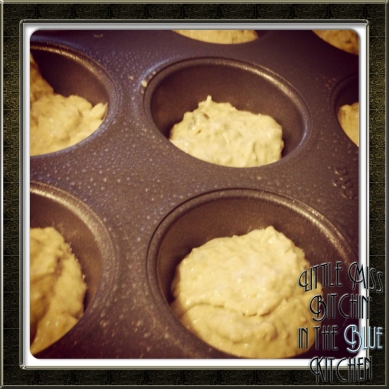
Spoon in the Mixture into the muffin tin holes.

Image

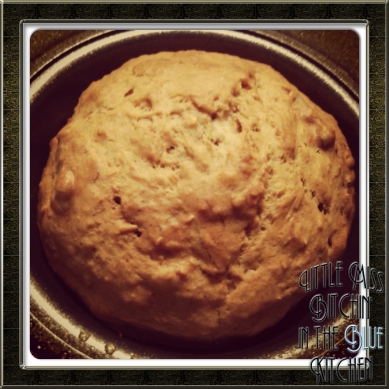
Bake for approximately 15-20 minutes.

Image

Stand for 5 minutes then place on a cooling rack.

Image

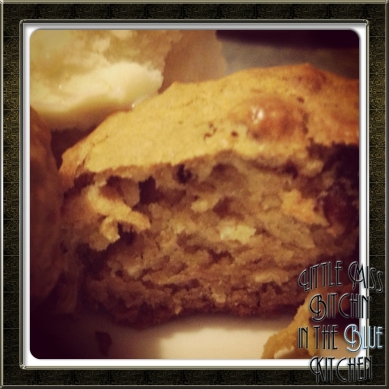
I hope you enjoy these beautiful muffins, they are guilt free pleasure domes packed full of  ‘Coconuttynana’ goodness, and are perfect for Diabetic management, weight and calorie control. Oh, and my toddler loves them too!

X

And at your convenience make sure you, right click, save as and print the following recipe, so you always have it handy :
Image

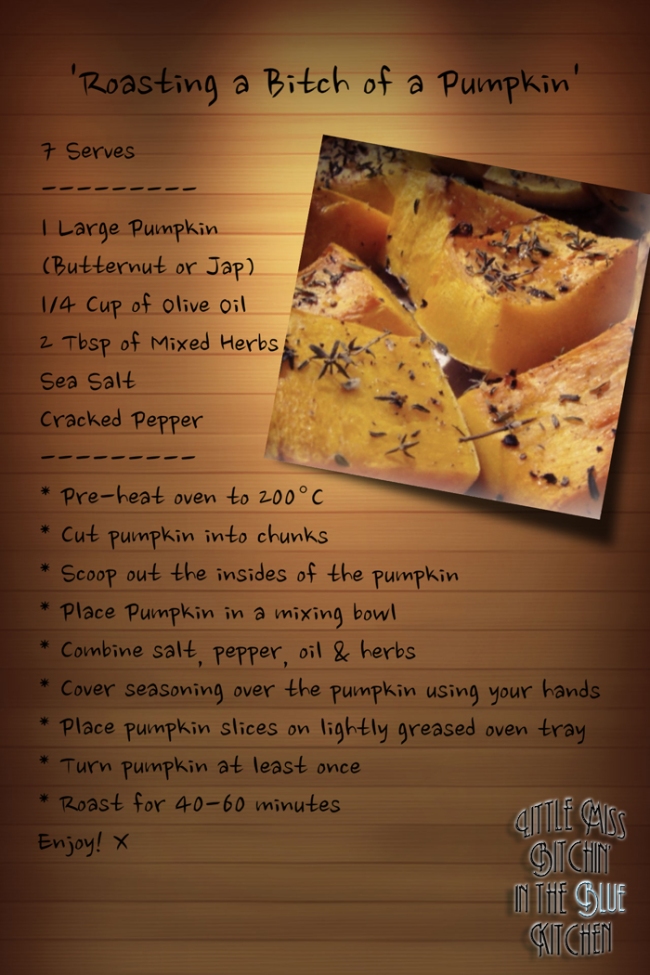
Roasting a Bitch of a Pumpkin

Tags

, , , ,

So, it was our turn to host Easter this year, in our new home, and new area. We were about to share a special holiday afternoon with my grandparents, mother, brother and his girlfriend. My mother was assigned to cook the meat, and I elected to cook the vegetables. As this was my first ‘grown up’ hosting event, I was a little bit excited.

Image

My Duckface impression

Everything was going smoothly. I had plenty of time…so I thought.

From our small yet over filled fridge, I dug out a beautifully home-grown pumpkin, which my Nono (grand-father) had produced himself.

Image

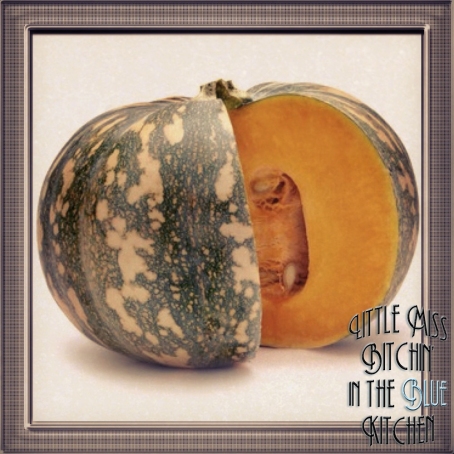
Beautiful Jap Pumpkin

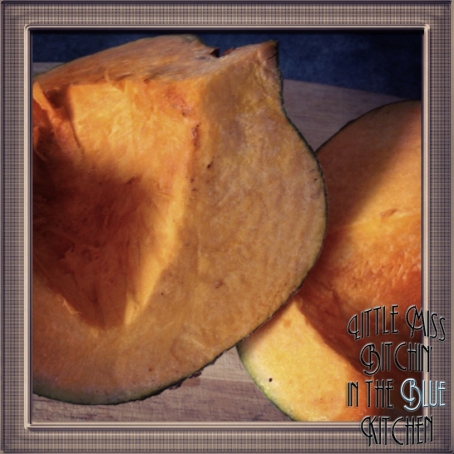
Not only was this pumpkin incredibly hard to cut, it was near impossible, but my determination reigned supreme. I persisted to cut this fucker, near missing my fingers quite frequently. It was a rather dramatic scene, my cries of anguish and the loud banging against the bench as I tried to remove the knife from the pumpkin, could have been heard a block away…oh god, it should never be this hard! The idea was to keep the skin on the pumpkin whilst cooking, but by this stage, I was so pissed off with the pumpkin, I sliced all the skin off and proceeded to cut the bastard into chunks. What should of taken 20 minutes, took over 40 minutes to complete, and that was just the PREPARATION of the ingredients.

Now I was behind the time, and seriously pissed…don’t let the photo deceive you.

Image

Cute photo, yes…but I was seriously stressed.

Guests started to arrive, and now I was faced with the task of balancing both cooking AND hosting. I threw the fuckin’ pumpkin into the oven.

Image

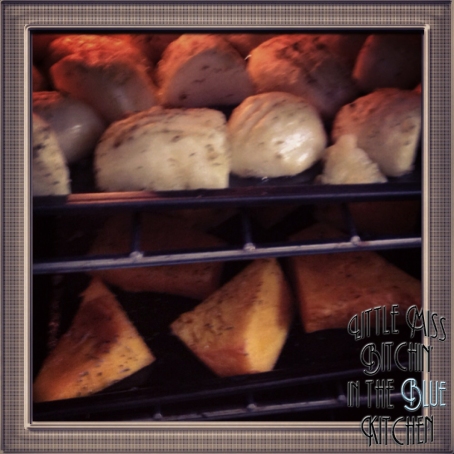
FINALLY…in the oven!

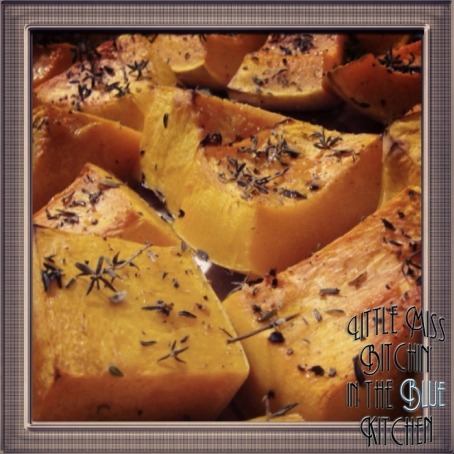
And…It turned out delightful!

If you would like to recreate this dish, and god awful experience, you will need the following ingredients :

1 Large Pumpkin (Butternut or Jap)
1/4 cup of olive oil
2 Tbsp of Mixed Herbs
Sea Salt
Cracked Pepper
Attention-Seeking Toddler (Optional)

Pre-heat the oven to 200°C. Then, using a sharp chef’s knife, cut chunks of pumpkin, about 2-3 inches thick. Use a large metal spoon to scoop out the seeds, along with the insides of the pumpkin. You can cut the skin away from the pumpkin or keep it on, whatever may be your preference.

Image

Put the Pumpkin into a mixing bowl and combine salt, pepper, oil and herbs. Mix the ingredients together with your ‘clean’ hands, and make sure each piece of the pumpkin has its own dose of seasoning.

Place the pumpkin slices onto a lightly greased oven tray. Roast for approximately 40-60 minutes (this may alter depending on the thickness of pumpkin slices). The pumpkin should then appear slightly caramelised and brown.

Image

This lovely dish is a perfect accompaniment to a roast lamb or chicken, and will taste superb with potatoes or by itself. It’s completely heavenly. This recipe will create approximately seven serves.

Enjoy, and Good Luck roasting your bitch of a pumpkin!

Image